▷ Basic Info ...
- MLOps에 대해서 공부를 하다보면 누구나 한 번 이상 꼭 듣게 되는 도구 ... Apache Airflow !!!
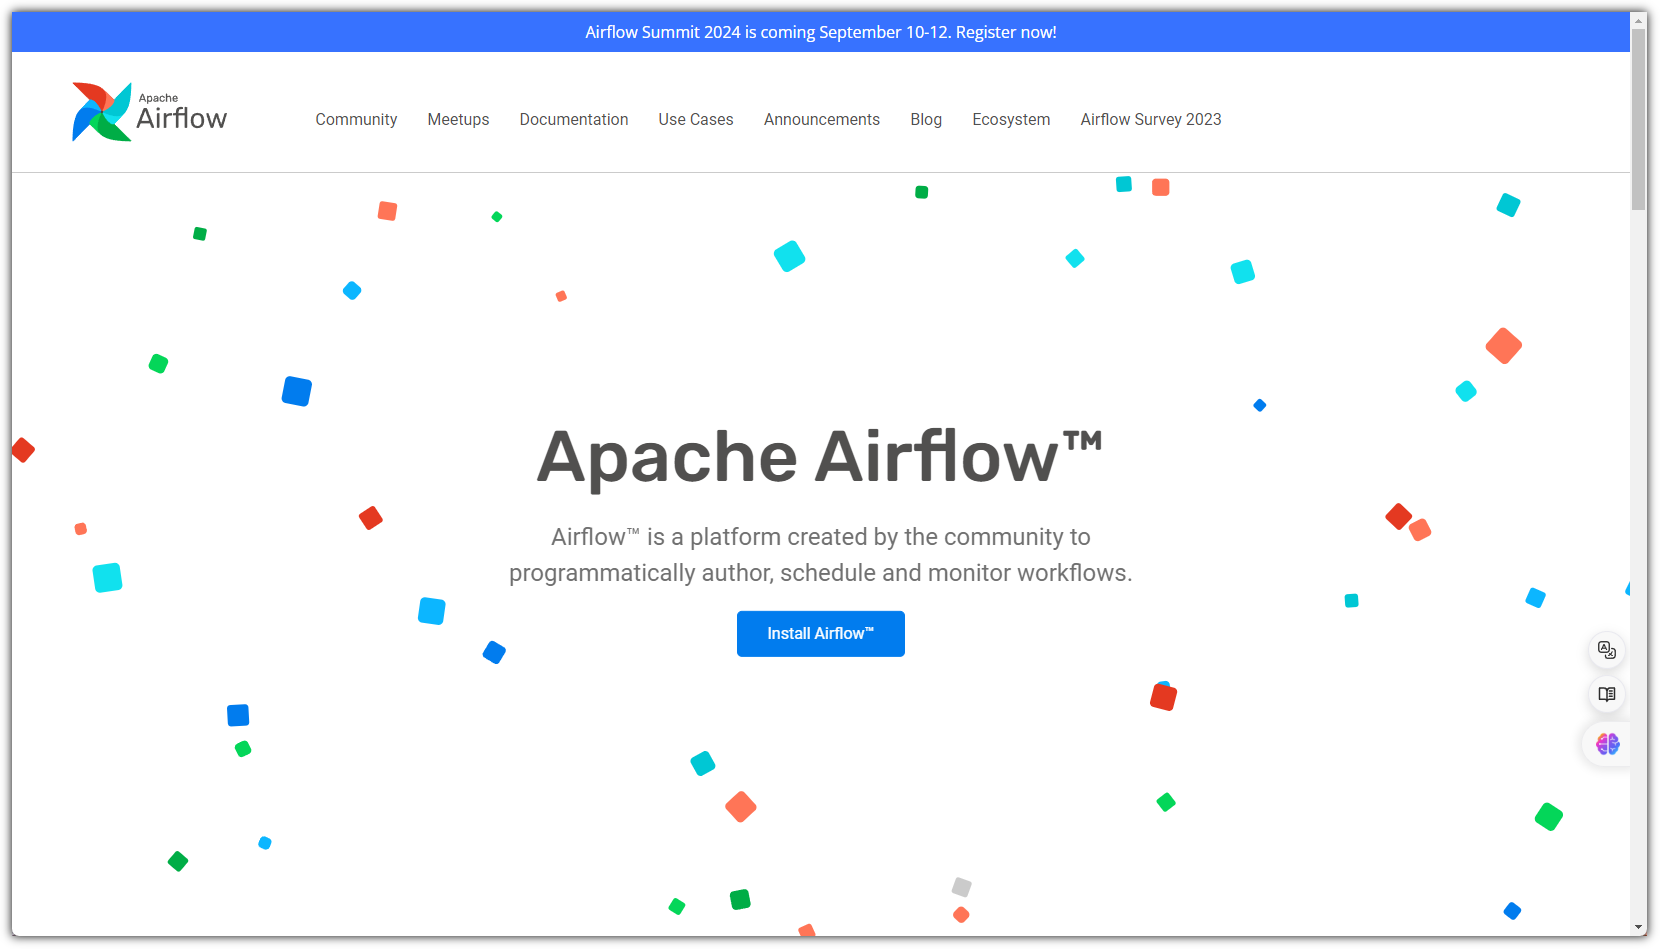
- 공식 사이트를 방문해보면 바람개비와 함께 산뜻한 페이지가 반긴다.
- 하지만, 우리같은(?) 도구쟁이들은 GitHub 사이트가 더 좋다 ^^
. https://github.com/apache/airflow

- 최신병에 걸려있기 때문에(^^), 릴리즈 정보를 확인해봐야 한다.
. https://airflow.apache.org/announcements/

▷ Prerequisites
- 기본적으로 POSIX 호환 운영체제에서 Python만 있으면 설치는 가능하다.
. Linux 배포판 및 MacOS가 기본적인 지원 운영체제이지만
. WSL2에서도 실행은 가능하다. 다만, 주력 지원 환경은 아니기에 Production 환경으로는 추천하지 않는다.
. Kubernetes 환경에서 동작 가능한 것이지 설치할 때 필수 환경은 아니다.
- 메모리는 최소 4GB 이상이 필요하다.
- 설치할 때 SQLite를 같이 포함해서 설치를 진행할 수 있지만, Production에서는 별도 DB 구성을 추천한다.

▷ Environments
- 설치 과정을 함께할 운영체제는 Ubuntu 20.04 환경이다.
. Airflow는 Debian 계열하고 제일 친한 것 같다. 그렇다면 Ubuntu가 최선이지 않을까!?
| ❯ lsb_release -a No LSB modules are available. Distributor ID: Ubuntu Description: Ubuntu 20.04.6 LTS Release: 20.04 Codename: focal |
- 일단 메모리 상황을 점검해보자.
. 메모리는 마음대로 할 수 있는 것이 아니니 부족하다면... 다른 서버를 찾아야 한다 ㅠ
| ❯ free -h total used free shared buff/cache available Mem: 7.8Gi 679Mi 6.4Gi 13Mi 677Mi 6.8Gi 스왑: 2.0Gi 0B 2.0Gi |
- Python 버전을 확인해보자.
. Python 버전 관리를 위해서는 Pyenv를 사용하는 것을 권장합니다 !!!
. https://www.whatwant.com/entry/pyenv
| ❯ pyenv --version pyenv 2.3.9-11-g3d83bcdb ❯ python --version Python 3.8.16 |
▷ Install #1 - PyPI + venv
- Apache Airflow를 설치하는 여러 방법이 있는데,
PyPI를 이용하는 방법과 Docker를 이용하는 방법에 대해서 살펴보고자 한다.
① pyenv
- Python 3.10 버전 환경에서 설치를 해보고자 한다.
- pyenv를 이용해서 원하는 버전을 설치하도록 하겠다.
| ❯ pyenv versions system * 3.8.16 (set by /home/chani22/.pyenv/version) # 사용하고자 하는 버전이 설치되어 있는지 확인 ❯ pyenv install -l Available versions: 2.1.3 2.2.3 ... # 설치가 가능한 버전 확인 ❯ pyenv install 3.10.9 Downloading Python-3.10.9.tar.xz... -> https://www.python.org/ftp/python/3.10.9/Python-3.10.9.tar.xz Installing Python-3.10.9... Installed Python-3.10.9 to /home/chani22/.pyenv/versions/3.10.9 |
② workspace / venv
- Airflow를 설치할 디렉토리를 확보하고,
- Python venv를 이용하여 가상환경까지 생성해보자.
| ❯ mkdir airflow ❯ cd airflow ❯ pyenv local 3.10.9 ❯ python -m venv .venv ❯ ls -al 합계 16 drwxrwxr-x 3 chani22 chani22 4096 4월 29 01:18 . drwxr-xr-x 3 chani22 chani22 4096 4월 29 01:16 .. -rw-rw-r-- 1 chani22 chani22 7 4월 29 01:16 .python-version drwxrwxr-x 5 chani22 chani22 4096 4월 29 01:18 .venv ❯ source .venv/bin/activate |
③ ENV
- 설치에 필요한 정보들을 위해서 환경 변수들을 설정해준다.
- "/srv/install/airflow" 디렉토리는 위에서 만들어 놓은 것을 사용해도 된다.
- "AIRFLOW_VERSION"은 지금 현재 가장 최신 버전을 선택했다.
- "PYTHON_VERSION"의 경우에 그냥 명시적으로 "3.10"이라고 설정해버려도 된다.
- "CONSTRAINT_URL" 역시 그냥 명시적으로 버전을 지정할 수도 있다.
| ❯ export AIRFLOW_HOME=/srv/install/airflow ❯ export AIRFLOW_VERSION=2.9.0 ❯ export PYTHON_VERSION="$(python -c 'import sys; print(f"{sys.version_info.major}.{sys.version_info.minor}")')" ❯ export CONSTRAINT_URL="https://raw.githubusercontent.com/apache/airflow/constraints-${AIRFLOW_VERSION}/constraints-${PYTHON_VERSION}.txt" ❯ echo $PYTHON_VERSION 3.10 ❯ echo $CONSTRAINT_URL https://raw.githubusercontent.com/apache/airflow/constraints-2.9.0/constraints-3.10.txt |
④ install
- 준비 끝. 설치 시작!
| ❯ pip install "apache-airflow==${AIRFLOW_VERSION}" --constraint "${CONSTRAINT_URL}" ... ❯ pip list | grep airflow apache-airflow 2.9.0 apache-airflow-providers-common-io 1.3.0 apache-airflow-providers-common-sql 1.11.1 apache-airflow-providers-fab 1.0.2 apache-airflow-providers-ftp 3.7.0 apache-airflow-providers-http 4.10.0 apache-airflow-providers-imap 3.5.0 apache-airflow-providers-smtp 1.6.1 apache-airflow-providers-sqlite 3.7.1 |
⑤ DB init
- 그냥 실행하는 방법도 있지만, 하나씩 차근차근 셋업하는 것을 추천한다.
| ❯ airflow db migrate DB: sqlite:////srv/install/airflow/airflow.db Performing upgrade to the metadata database sqlite:////srv/install/airflow/airflow.db [2024-04-29T02:20:10.674+0900] {migration.py:216} INFO - Context impl SQLiteImpl. [2024-04-29T02:20:10.710+0900] {migration.py:219} INFO - Will assume non-transactional DDL. [2024-04-29T02:20:10.713+0900] {migration.py:216} INFO - Context impl SQLiteImpl. [2024-04-29T02:20:10.714+0900] {migration.py:219} INFO - Will assume non-transactional DDL. INFO [alembic.runtime.migration] Context impl SQLiteImpl. INFO [alembic.runtime.migration] Will assume non-transactional DDL. INFO [alembic.runtime.migration] Running stamp_revision -> 1949afb29106 Database migrating done! |
⑥ make admin account
- 관리자 계정을 만들어주자.
- "--role Admin" 부분만 잘 지켜주고, 나머지는 각자 취향대로.
| ❯ airflow users create --username whatwant --firstname whatwant --lastname boss --role Admin --email whatwant@whatwant.com ... Password: Repeat for confirmation: [2024-04-29T02:31:53.165+0900] {override.py:1516} INFO - Added user whatwant User "whatwant" created with role "Admin" |
⑦ run
- 이제 웹 UI를 확인해보자.
| ❯ airflow webserver --port 8080 |
- 웹브라우저를 실행해서, 다음 주소로 접속하면 된다.
. http://localhost:8080

- 앞에서 생성한 계정과 패스워드를 이용해서 Sign in 하면 된다.

- 뭔가 화면은 나왔는데, 위에 뭔가 알람이 많이 보인다.
⑧ notice
- 어?! 그런데 뭔가 경고같은 메시지가 보인다.

- 가장 위에 있는 메시지를 보면 실행중인 "scheduler"가 안보인단다. 해결해보자.
⑨ scheduler
- 새로운 터미널을 추가로 띄워서 scheduler를 실행하면 된다.
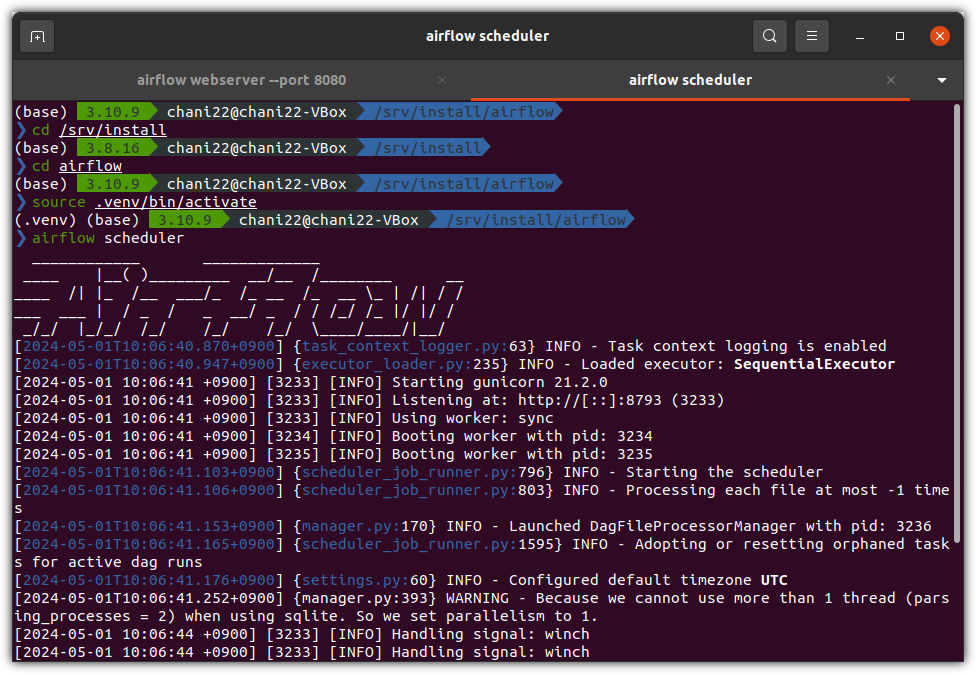
- 터미널을 새로 띄우면 Python 가상환경도 추가 설정해야 한다.
| ❯ cd airflow # 앞에서 진행했던 airflow 디렉토리로 이동 ❯ source .venv/bin/activate ❯ airflow scheduler |
- 웹브라우저를 reload(F5) 하면 갑자기 못보던 샘플 DAGs 가 보인다.
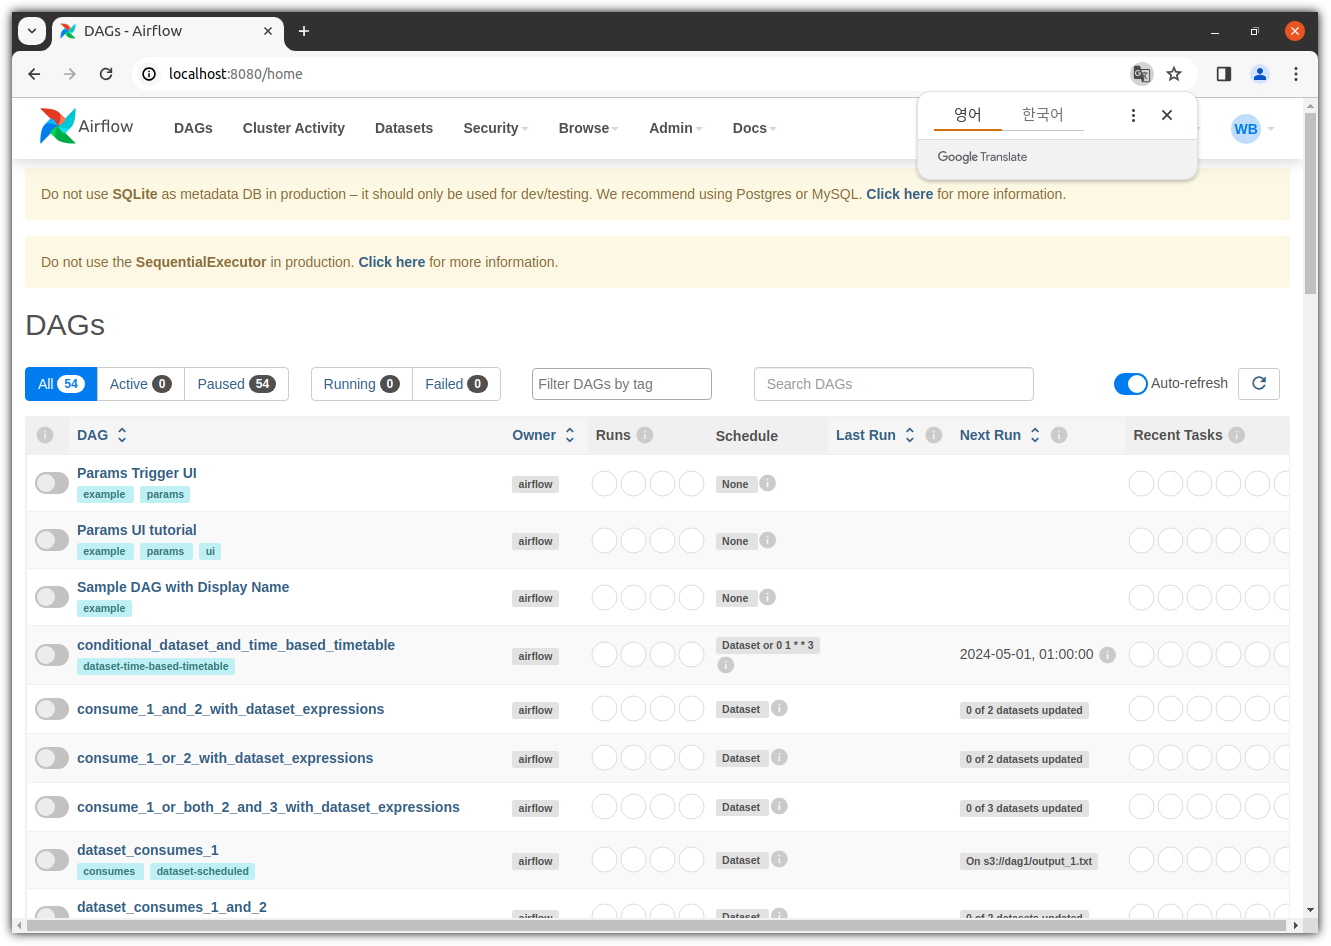
- 상단에 보이는 알람 메시지가 3개에서 2개로 줄어들었다.
- 나머지 2개는 production 환경에서 SQLite나 SeuentialExecutor를 사용하지 말라는 메시지다. 일단 무시!
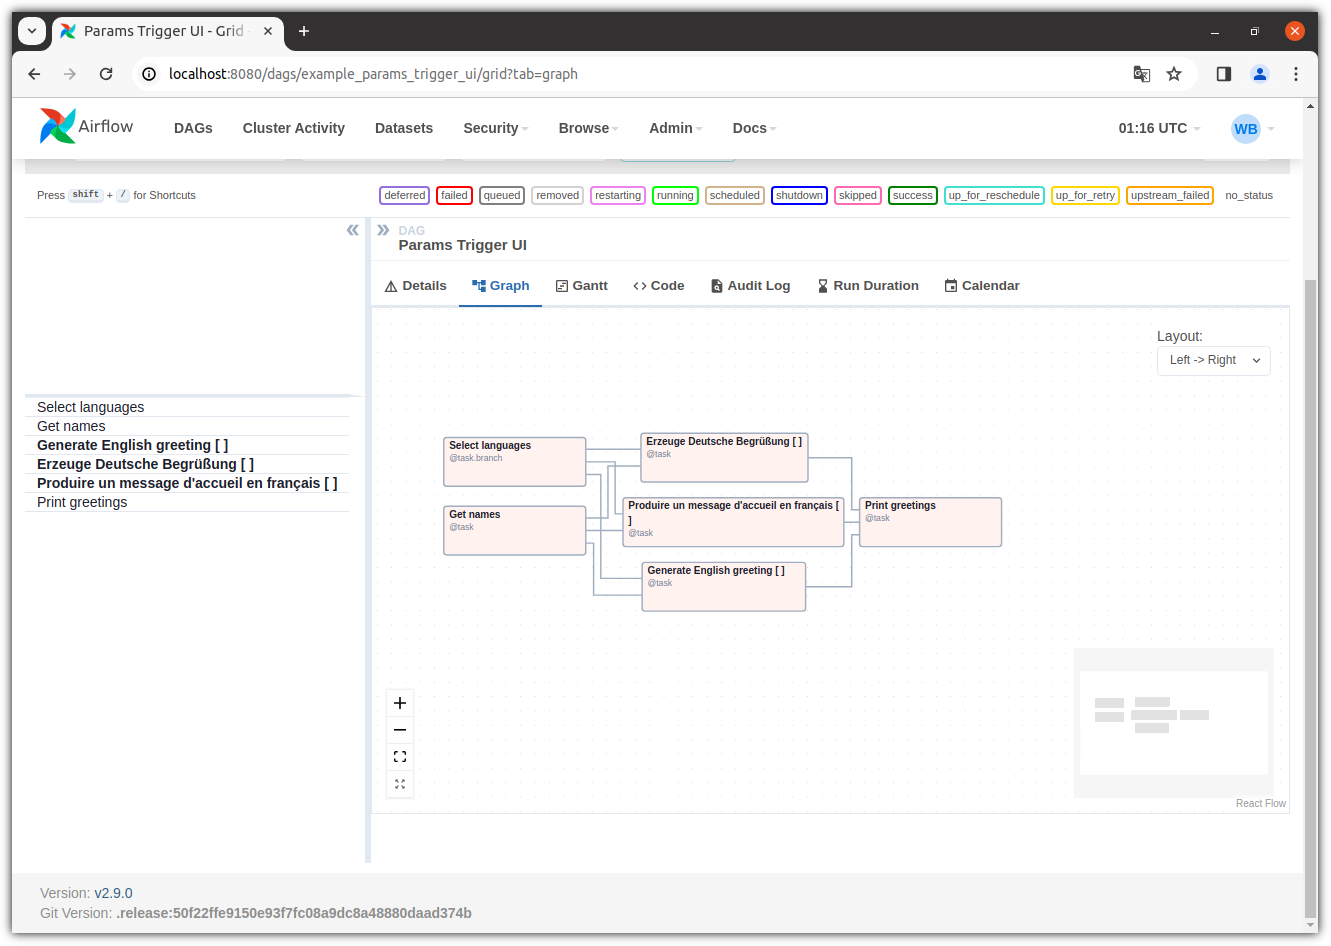
- Sample을 하나 선택해서 살펴보면 뭔가 멋지다! ^^
▷ Install #2 - Docker + Compose
- docker를 이용한 airflow 설치를 해보자.
- 그냥 docker image를 이용한 실행말고, 여러 모듈들을 같이 구성하기 위해 docker compose를 사용하겠다.
- https://airflow.apache.org/docs/apache-airflow/2.9.0/howto/docker-compose/index.html
① docker / docker-compose
- docker 및 docker-compose가 설치되어 있어야 한다.
. Ubuntu 20.04 기준으로 Quick-Guide는 다음과 같다.
| ❯ mkdir docker ❯ cd docker ❯ wget https://download.docker.com/linux/ubuntu/dists/focal/pool/stable/amd64/containerd.io_1.6.31-1_amd64.deb ❯ wget https://download.docker.com/linux/ubuntu/dists/focal/pool/stable/amd64/docker-buildx-plugin_0.14.0-1\~ubuntu.20.04\~focal_amd64.deb ❯ wget https://download.docker.com/linux/ubuntu/dists/focal/pool/stable/amd64/docker-ce-cli_26.1.1-1\~ubuntu.20.04\~focal_amd64.deb ❯ wget https://download.docker.com/linux/ubuntu/dists/focal/pool/stable/amd64/docker-ce_26.1.1-1\~ubuntu.20.04\~focal_amd64.deb ❯ wget https://download.docker.com/linux/ubuntu/dists/focal/pool/stable/amd64/docker-compose-plugin_2.27.0-1\~ubuntu.20.04\~focal_amd64.deb ❯ ls -al 합계 109212 drwxrwxr-x 2 chani22 chani22 4096 5월 1 10:31 . drwxr-xr-x 4 chani22 chani22 4096 5월 1 10:29 .. -rw-rw-r-- 1 chani22 chani22 29821672 4월 11 21:01 containerd.io_1.6.31-1_amd64.deb -rw-rw-r-- 1 chani22 chani22 29650176 4월 30 01:48 docker-buildx-plugin_0.14.0-1~ubuntu.20.04~focal_amd64.deb -rw-rw-r-- 1 chani22 chani22 14601364 5월 1 00:17 docker-ce-cli_26.1.1-1~ubuntu.20.04~focal_amd64.deb -rw-rw-r-- 1 chani22 chani22 25267932 5월 1 00:17 docker-ce_26.1.1-1~ubuntu.20.04~focal_amd64.deb -rw-rw-r-- 1 chani22 chani22 12478416 5월 1 00:17 docker-compose-plugin_2.27.0-1~ubuntu.20.04~focal_amd64.deb ❯ sudo dpkg --install containerd.io_1.6.31-1_amd64.deb ❯ sudo dpkg --install docker-ce-cli_26.1.1-1\~ubuntu.20.04\~focal_amd64.deb ❯ sudo dpkg --install docker-ce_26.1.1-1\~ubuntu.20.04\~focal_amd64.deb ❯ sudo dpkg --install docker-buildx-plugin_0.14.0-1\~ubuntu.20.04\~focal_amd64.deb ❯ sudo dpkg --install docker-compose-plugin_2.27.0-1\~ubuntu.20.04\~focal_amd64.deb ❯ sudo usermod -aG docker $USER # 터미널 재시작 ❯ docker --version Docker version 26.1.1, build 4cf5afa ❯ docker compose version Docker Compose version v2.27.0 |
② download YAML
- airflow 설치 과정을 위한 디렉토리 만들고
- docker-compose YAML 파일을 다운로드 받자
| ❯ mkdir airflow-docker ❯ cd airflow-docker ❯ wget https://airflow.apache.org/docs/apache-airflow/2.9.0/docker-compose.yaml --2024-05-01 10:44:57-- https://airflow.apache.org/docs/apache-airflow/2.9.0/docker-compose.yaml airflow.apache.org (airflow.apache.org) 해석 중... 151.101.2.132, 2a04:4e42::644 다음으로 연결 중: airflow.apache.org (airflow.apache.org)|151.101.2.132|:443... 연결했습니다. HTTP 요청을 보냈습니다. 응답 기다리는 중... 200 OK 길이: 11197 (11K) 저장 위치: `docker-compose.yaml' docker-compose.yaml 100%[==========================================>] 10.93K --.-KB/s / 0s 2024-05-01 10:44:57 (45.5 MB/s) - `docker-compose.yaml' 저장함 [11197/11197] |
- YAML 파일 내용을 살펴보면 알겠지만, 많은 서비스가 별도의 docker로 구성되어 있다.
. airflow-scheduler
. airflow-webserver
. airflow-worker
. airflow-triggerer
. airflow-init
. postgres
. redis
- 그래서 메모리가 충분히 필요한데, 최소 4GB / 권장 8GB 이다.
③ mkdir
- 여러 종류의 파일들을 저장할 디렉토리들을 만들어 놓자.
. ./dags - you can put your DAG files here.
. ./logs - contains logs from task execution and scheduler.
. ./config - you can add custom log parser or add airflow_local_settings.py to configure cluster policy.
. ./plugins - you can put your custom plugins here.
| ❯ mkdir -p ./dags ./logs ./plugins ./config ❯ ls -al 합계 36 drwxrwxr-x 6 chani22 chani22 4096 5월 1 10:53 . drwxr-xr-x 5 chani22 chani22 4096 5월 1 10:44 .. drwxrwxr-x 2 chani22 chani22 4096 5월 1 10:53 config drwxrwxr-x 2 chani22 chani22 4096 5월 1 10:53 dags -rw-rw-r-- 1 chani22 chani22 11197 4월 8 20:42 docker-compose.yaml drwxrwxr-x 2 chani22 chani22 4096 5월 1 10:53 logs drwxrwxr-x 2 chani22 chani22 4096 5월 1 10:53 plugins |
④ UID
- airflow가 실행될 UID도 설정해주자.
| ❯ echo -e "AIRFLOW_UID=$(id -u)" > .env ❯ cat .env AIRFLOW_UID=1000 |
⑤ Customizing
- YAML 파일을 수정할 수도 있다.
- port만 살짝 바꿔봤다. (각자 취향)

⑥ Initialize the database
- DB 초기화를 진행하자.
| ❯ docker compose up airflow-init |
- 잘 실행되면 아래와 같은 화면이 나온다.
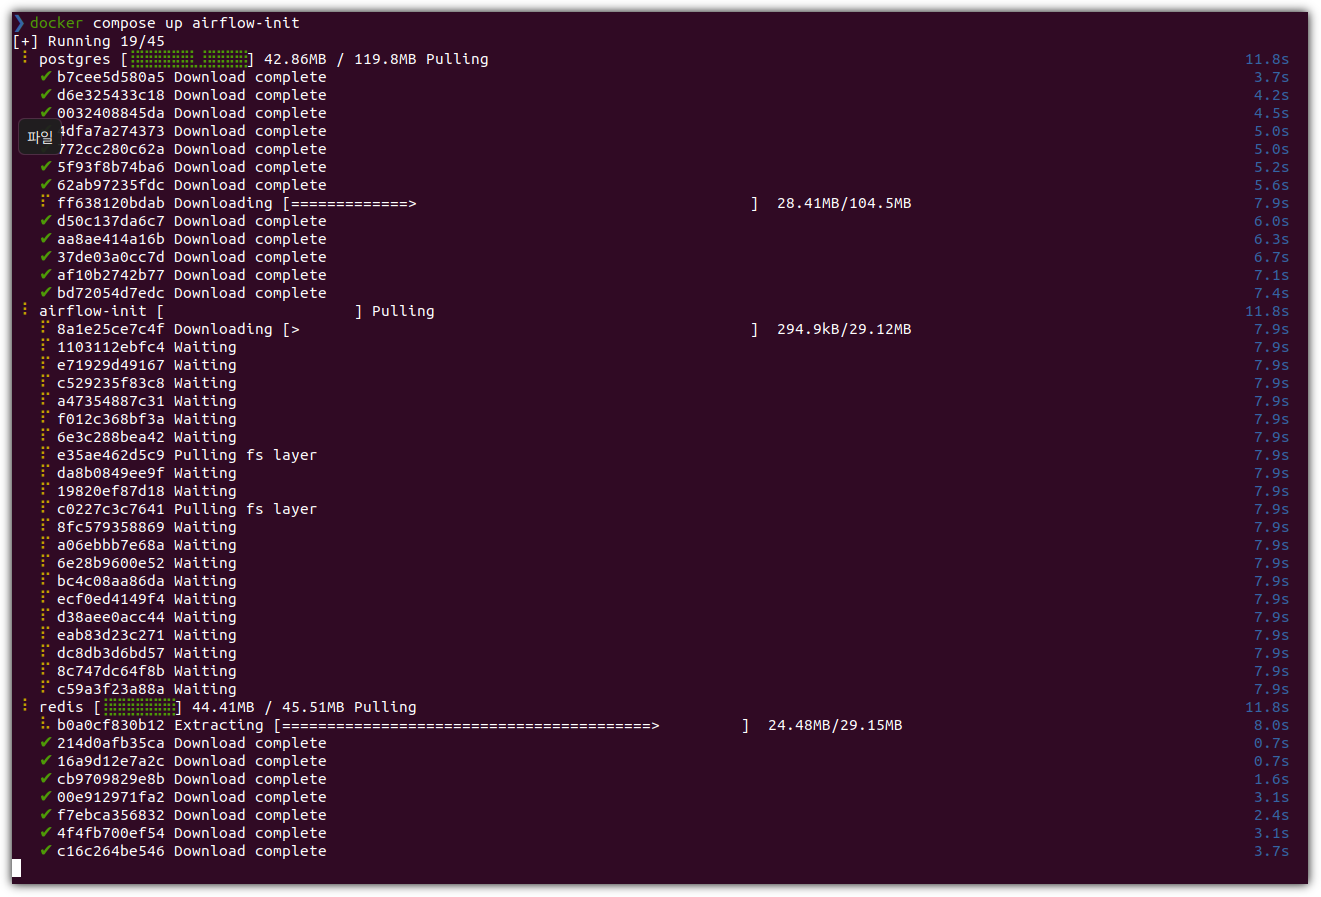
- 아래와 같이 Permission denied 상황이 나올 수도 있는데,
sock 파일의 권한을 조정하거나 그래도 안되면 재부팅 한 번 해주면 잘 된다.
| ❯ docker compose up airflow-init permission denied while trying to connect to the Docker daemon socket at unix:///var/run/docker.sock: Get "http://%2Fvar%2Frun%2Fdocker.sock/v1.45/containers/json?all=1&filters=%7B%22label%22%3A%7B%22com.docker.compose.config-hash%22%3Atrue%2C%22com.docker.compose.project%3Dairflow-docker%22%3Atrue%7D%7D": dial unix /var/run/docker.sock: connect: permission denied ❯ sudo chown root:docker /var/run/docker.sock |
- 현재 상태를 확인해보면 다음과 같다.
| ❯ ls -al 합계 40 drwxrwxr-x 6 chani22 chani22 4096 5월 1 11:00 . drwxr-xr-x 5 chani22 chani22 4096 5월 1 10:44 .. -rw-rw-r-- 1 chani22 chani22 17 5월 1 10:55 .env drwxrwxr-x 2 chani22 chani22 4096 5월 1 10:53 config drwxrwxr-x 2 chani22 root 4096 5월 1 10:53 dags -rw-rw-r-- 1 chani22 chani22 11197 5월 1 11:00 docker-compose.yaml drwxrwxr-x 2 chani22 root 4096 5월 1 10:53 logs drwxrwxr-x 2 chani22 root 4096 5월 1 10:53 plugins ❯ docker ps CONTAINER ID IMAGE COMMAND CREATED STATUS PORTS NAMES 1dfae6410fa0 postgres:13 "docker-entrypoint.s…" 4 minutes ago Up 4 minutes (healthy) 5432/tcp airflow-docker-postgres-1 466bc0539812 redis:latest "docker-entrypoint.s…" 4 minutes ago Up 4 minutes (healthy) 6379/tcp airflow-docker-redis-1 |
⑦ Run Airflow
- 이제 Airflow를 실행하자.
| ❯ docker compose up ... |
- 뭔가 잔뜩 메시지가 흘러나온다.

- 웹브라우저를 열어서 접속해보자.
. http://localhost:8090/
. 접속 정보: airflow / airflow

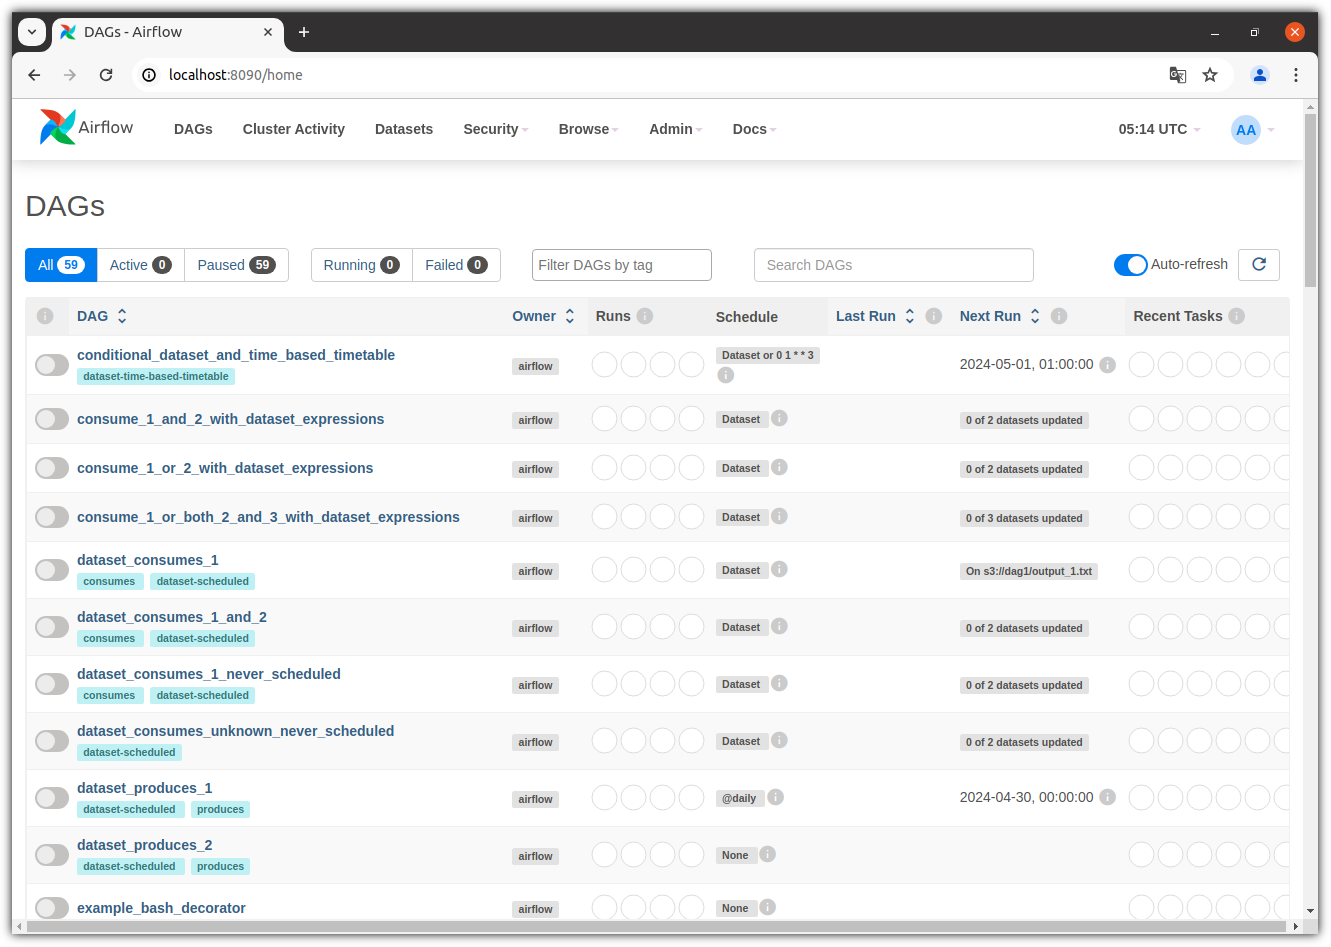
- 어!? 뭔가 되게 깔끔한 화면이 나온다.
- Container 정보를 살펴보자.

우와~~~~ 뭔가 엄청 길었다.
추가적으로 살펴볼 것이 많이 남아있지만 일단 "설치 후 실행"이라는 것에 주안점을 두었다.
"운영" 측면에서는 더 알아봐야할 것이 많겠지만 지금은 여기까지만~~~ ^^
'AI_ML > MLOps' 카테고리의 다른 글
| Airflow remove Example DAGs (에어플로우 예제 삭제) (0) | 2024.05.04 |
|---|